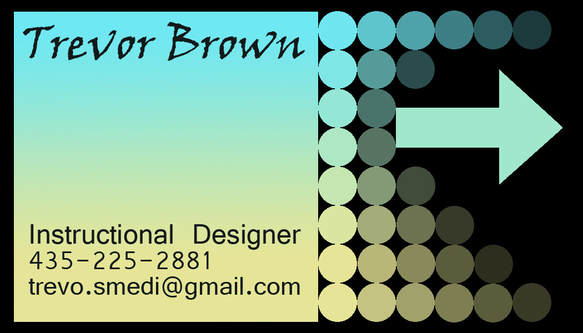
This is the front portion of my business card. For the most part I have my main information that I want for someone to know about me. I included the arrow on the side to let the person know that they need to turn it over.
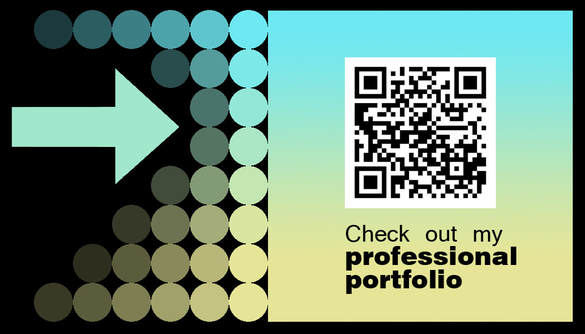
This is the back of my business card. I put the arrow on the other side for consistency and to help lead them to the QR code. Since a business card needs just the basic information, I wanted to put the QR code on it so anyone really interesting in hiring me would pursue the code.
Design Principles:
Contrast: There is good contrast between the dark text and background , and the light arrows, circles and main area.
Repetition: I repeated the fading circles, the arrows, and the color scheme.
Alignment: All of the circles are aligned in rows and columns. The arrow is aligned with the circles and with the QR code on the back. The text on the back is aligned with the QR code. The front and the back are aligned with the circles, the arrow and the main area. As you flip the card, everything is exactly reversed on the other sides.
Proximity: The text on the front is separated between my name and how to contact me.
Color: I used the colors to be softer on the eyes but to give it some good contrast. I used a gradient to spice it up and give a different feel to it.
Layout: The first thing you see is my name. Below that you can see who I am and some of my contact information. The circles fade out on the side and the arrow helps point to the back. The back has the same layout but in reverse. This is so when you flip the card, everything will be aligned to the front. There is a QR code in the center of the back to show the viewer more about what I have done.
Photoshop Tools used
- The main tools I used were the shape tools. I created squares, circles, and triangles.
- I used opacity to get the faded circles.
- I created a gradient on the card.
- I added fonts to the card.
